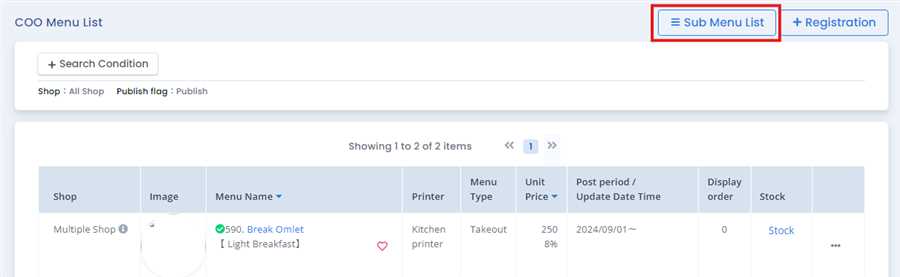
You will find the Sub Menu List in right side besides Registration button in COO Menu List .
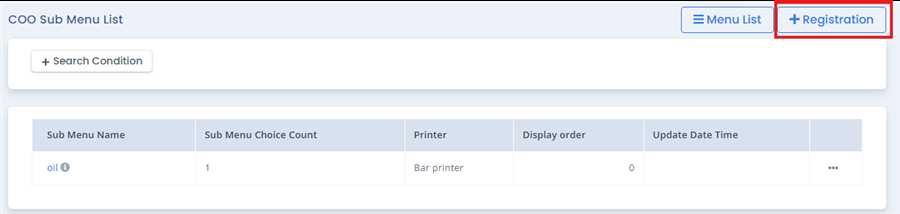
Click on Sub Menu List where it opens up registered COO Sub Menus and you will find the Registration button besides Menu List on the top right where you can register COO sub menu.
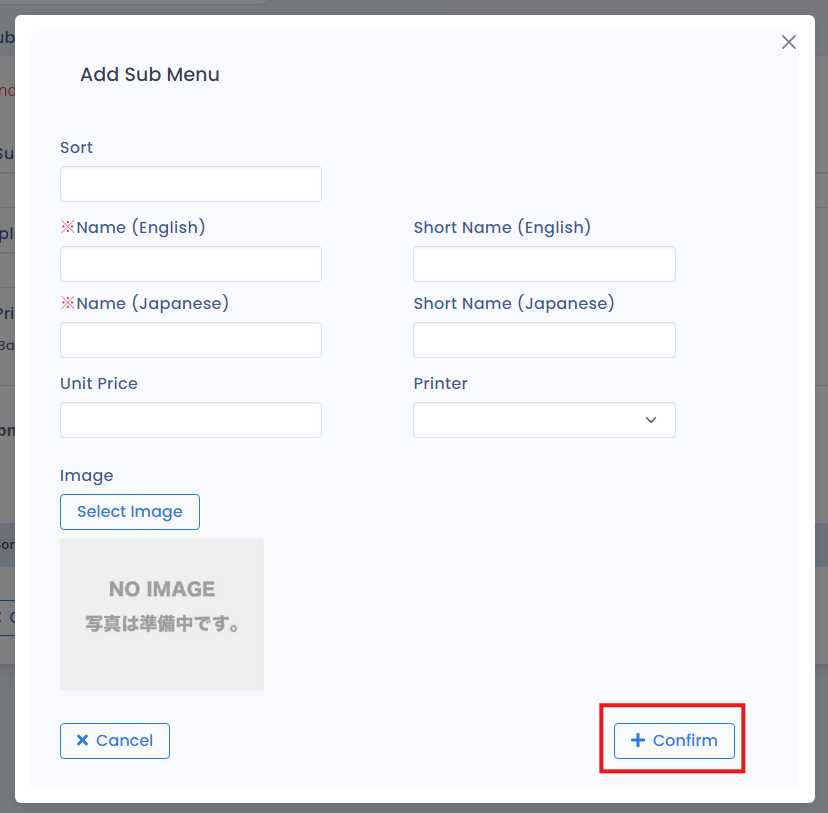
After pressing Registration button,menu registration form opens up where you can fill up required information like Sub menu name, printer, sub menu choice list and press Registration button to register the Sub Menu.
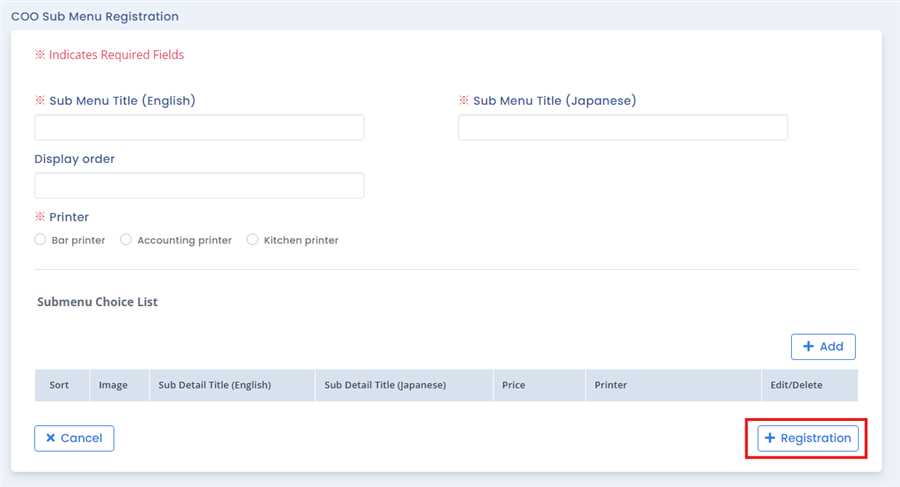
Sub Menu Title (English): This field contain the name of sub menu in English language which is also a required field.
Sub Menu Title (Japanese): This field contain the name of a sub menu in Japanese language which is also a required field.
Printer: while creating the menu you need to choose the type of printer you are using in your shop. for eg: kitchen printer, Accounting printer, Bar printer etc. These type or option of printer will be shown after the adding from the agent site of that respective shop.
Submenu Choice List: It shows sub menu choice list and we can add additional sub menu by pressing Add button.
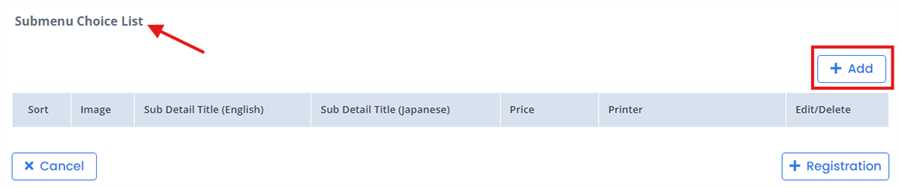
Add Sub Menu: After Pressing add button a pop page open up where where user can fill necessary information which is explained in steps below.
Submenu Choice List:
To add a submenu choice, follow these steps: