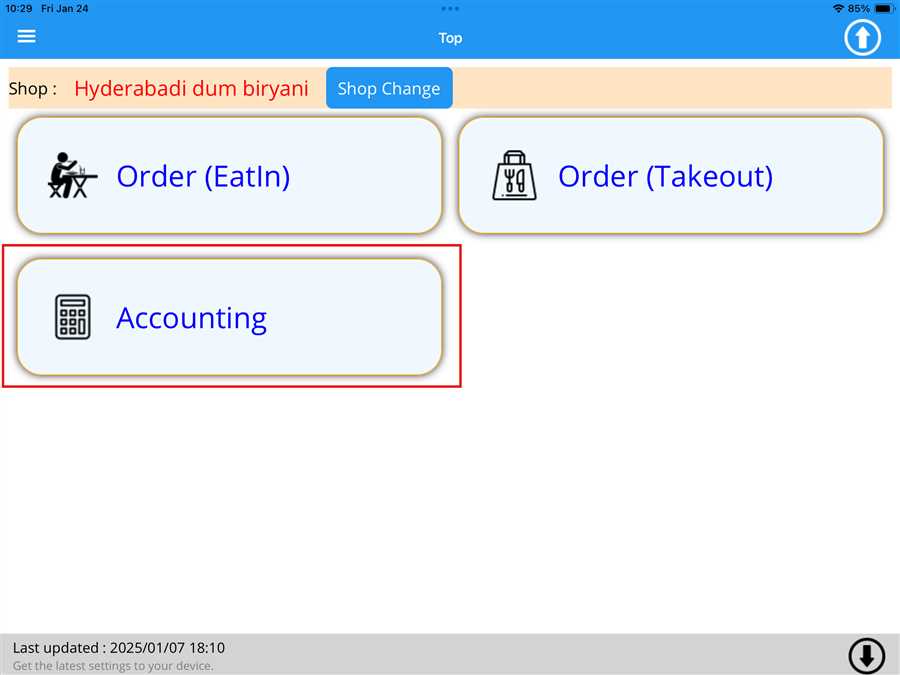
After pressing Accounting button a list button appears which contains the tables registered on the shop with respective order value(total ordered menu price) on those tables.
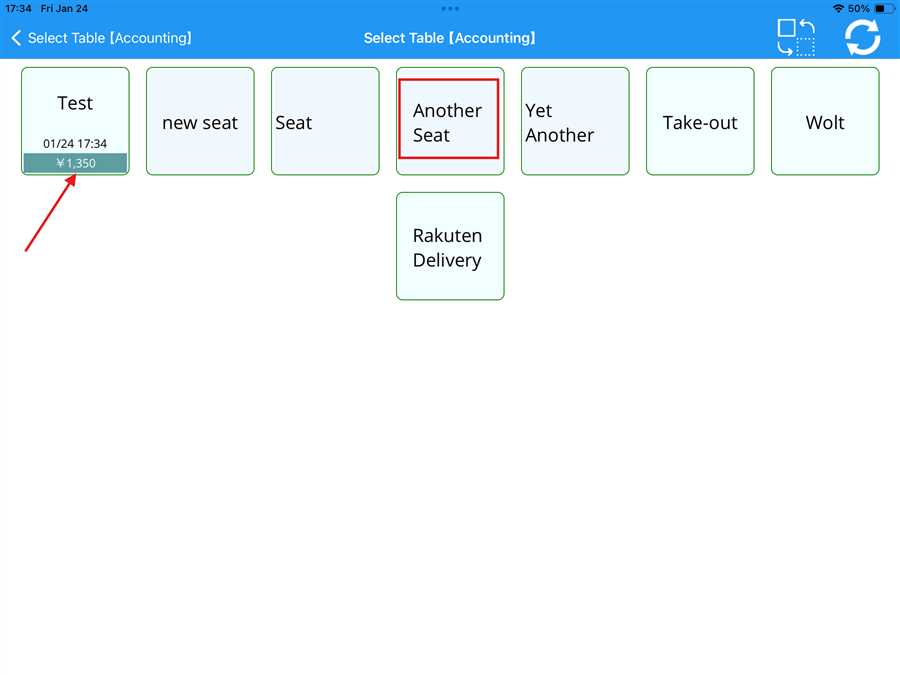
Here,Another Seat is the table registered to the shop shown by red box and ¥ 1,350 is the amount accumulated on the test table shown by the red arrow.
Applying Discount
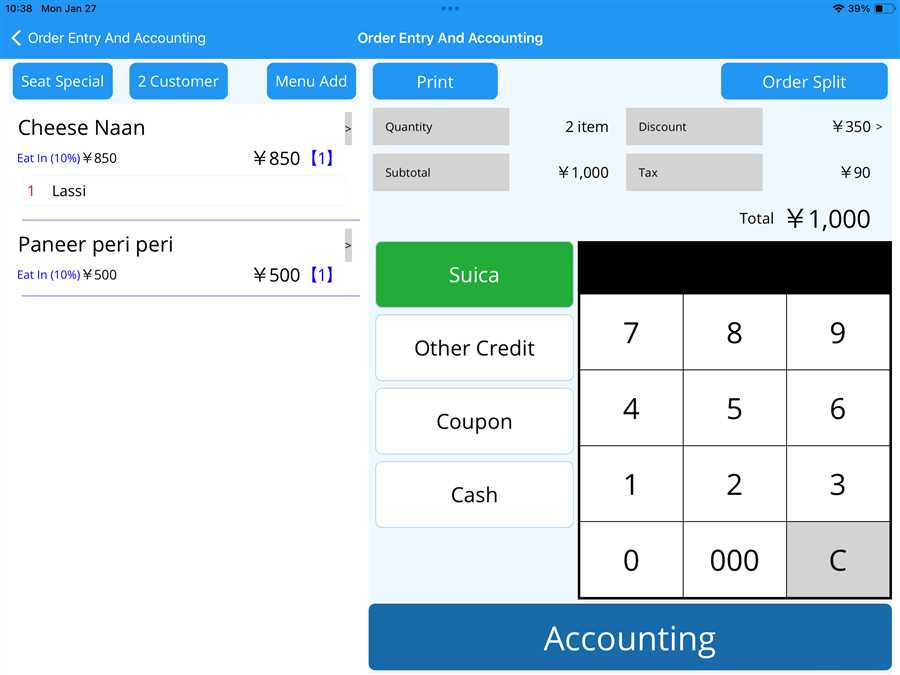
After selecting a table, the accounting page opens, allowing the user to view the ordered items along with their details, such as submenu information, quantity, and price, as shown in the picture below:
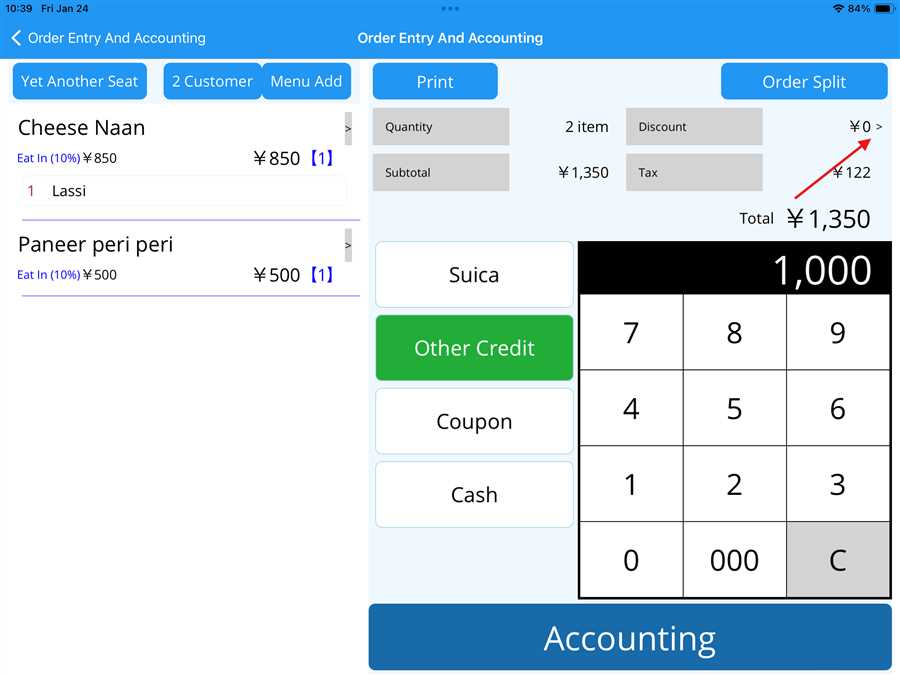
The user can apply a discount by pressing the '>' button on the screen, as indicated by the red arrow in the picture above. Discounts can be applied in two ways: By rate or by amount.
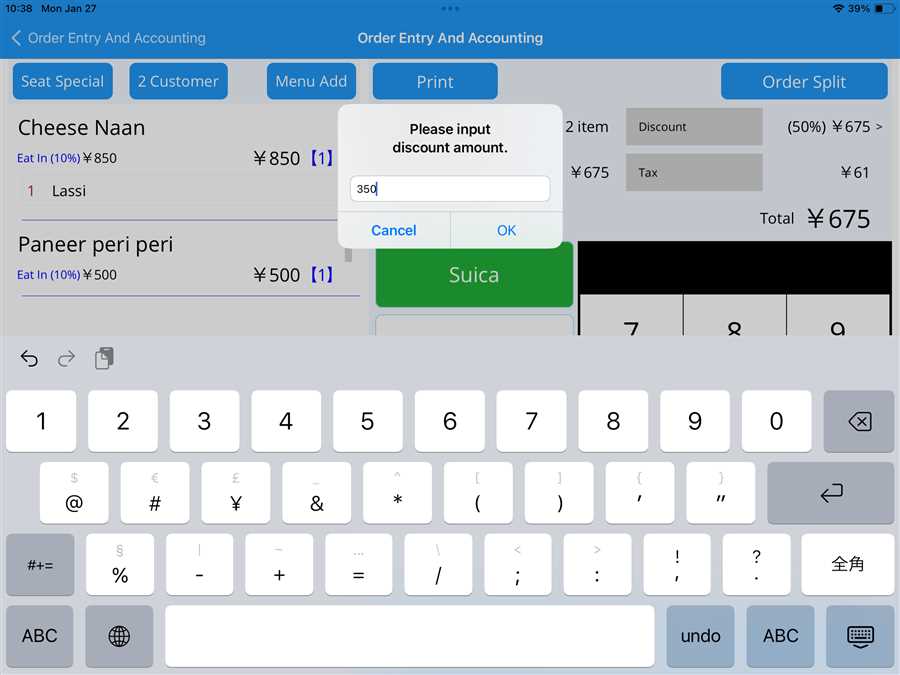
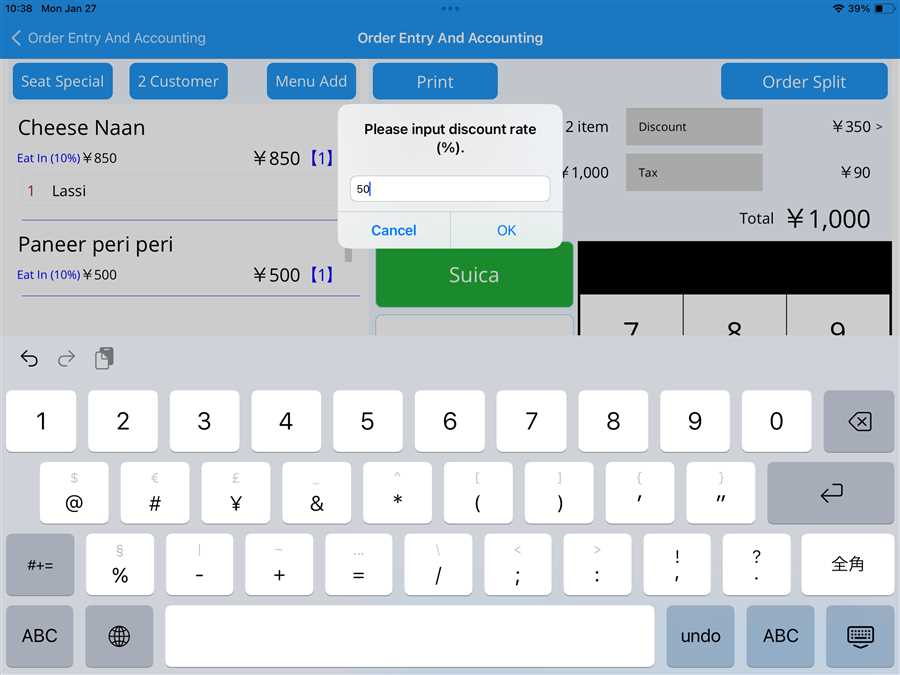
After pressing the button, a prompt appears where the user can enter the discount either as a specific amount or as a percentage rate, as shown in the figure below
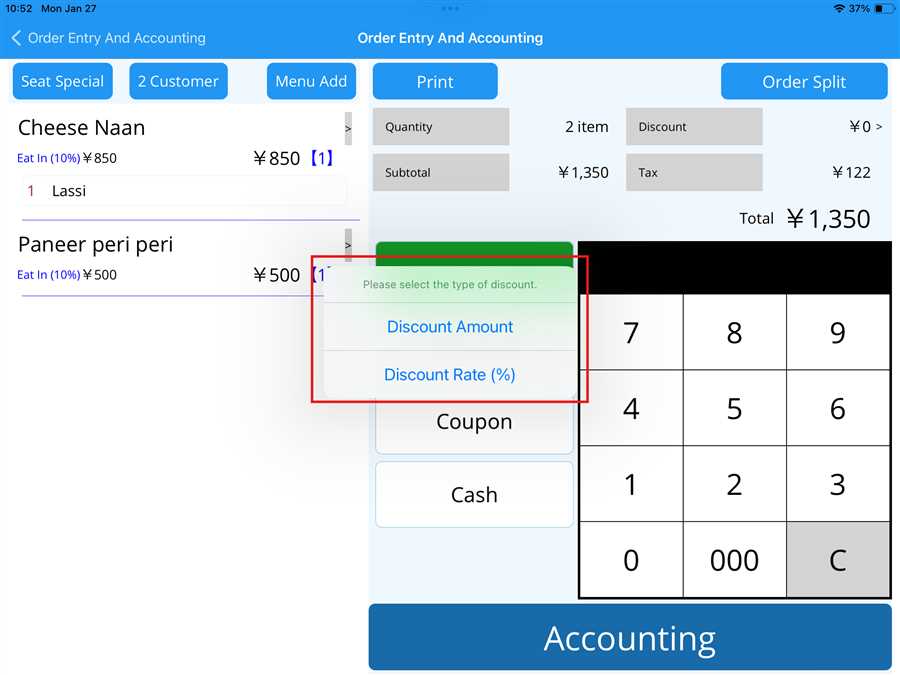
After selecting an option, the user can apply a discount either by pressing Discount Amount to apply a discount by a specific amount or by pressing Discount Rate (%) to apply a discount by percentage, as shown in the picture above.
Note: Only one option can be selected at a time; both amount and rate discounts cannot be applied to the same table
After entering the discount amount or rate, the discounted amount is displayed in the total section, and the user can proceed to account for the discounted amount accordingly.
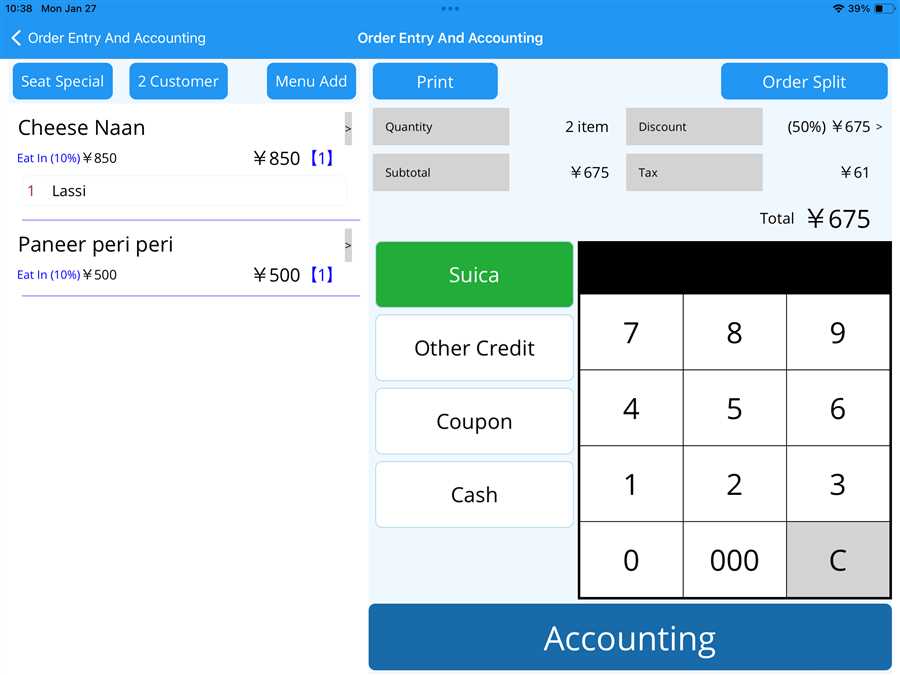
Thus, the above steps can be followed to apply a discount to an order using the POS app.