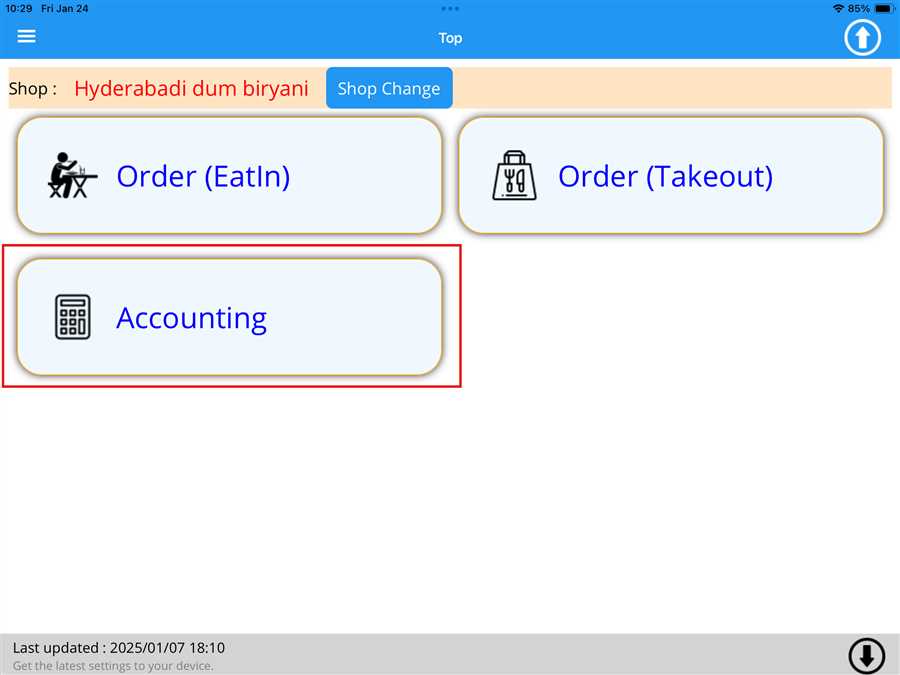
Open Accounting Page
User can add/delete menu on accounting page by pressing Accounting button on the screen as shown in the figure below
After pressing Accounting button a list button appears which contains the tables registered on the shop with respective order value(total ordered menu price) on those table
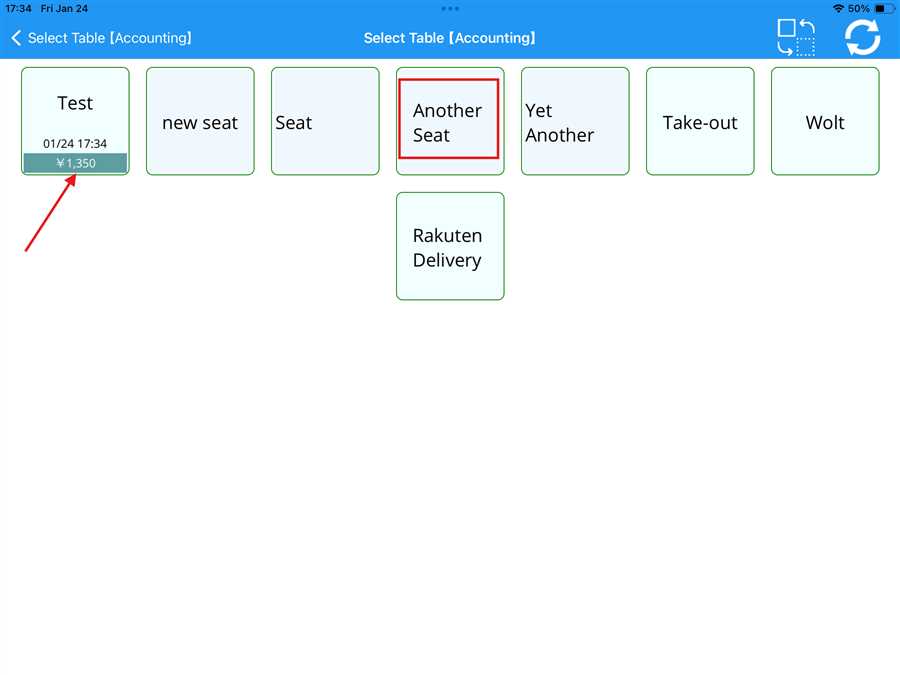
Here,Another Seat is the table registered to the shop shown by red box and ¥ 1,350 is the amount accumulated on the test table shown by the red arrow.
Adding menu during accounting
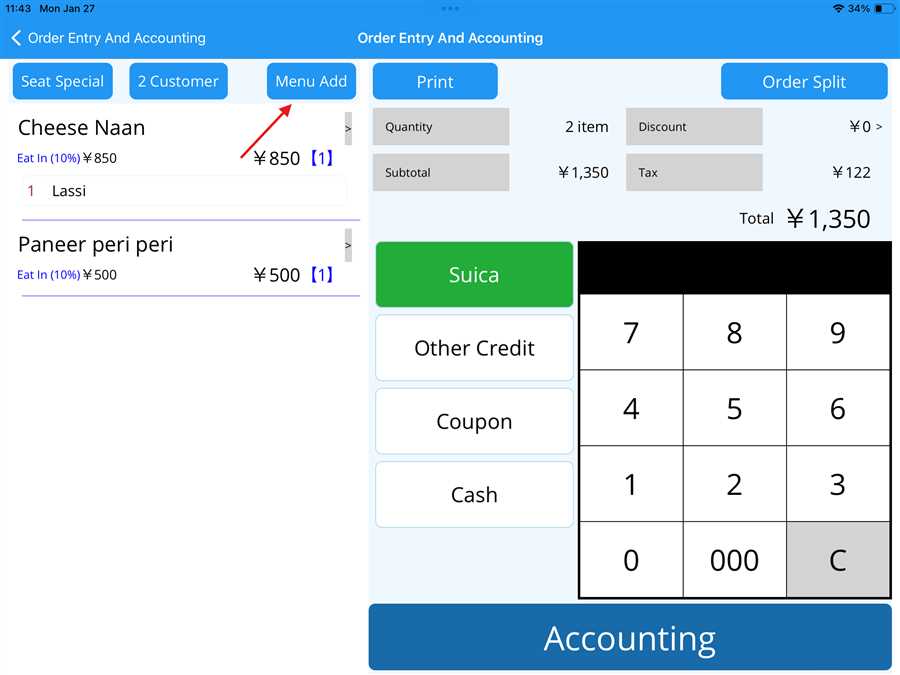
The user can add a menu to the accounting list by pressing the 'Menu Add' button (indicated by the red arrow) on the accounting page, as shown in the picture below
After pressing the 'Menu Add' button, the menu list page opens, allowing the user to select a menu item to add it to the list on the accounting page
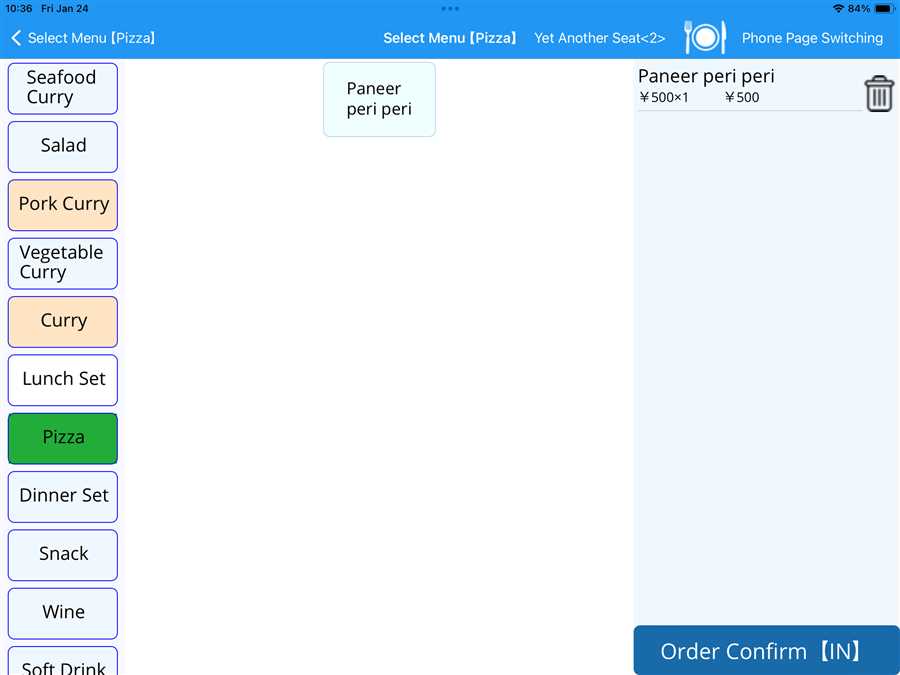
Here, Paneer Peri Peri Pizza is selected again and added to the list, as shown in the figure below.
By following the steps above, a menu item can be added to the accounting page
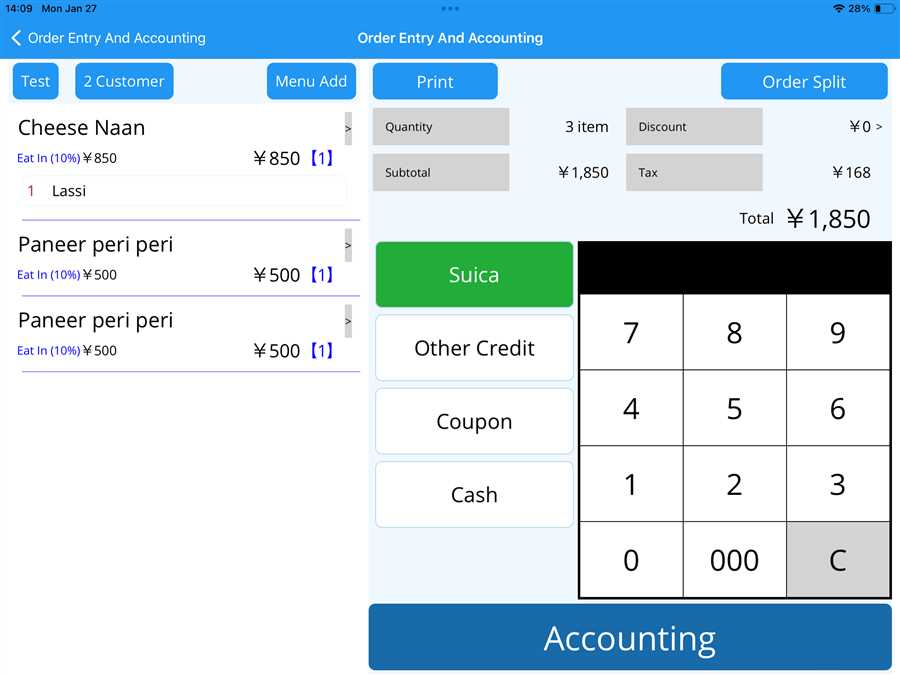
Removing Menu during accounting
Users can remove a menu item from the accounting page by either double-tapping on the menu name (indicated by the red arrow) or swiping left on the menu name (also indicated by the red arrow), as shown in the figure below.

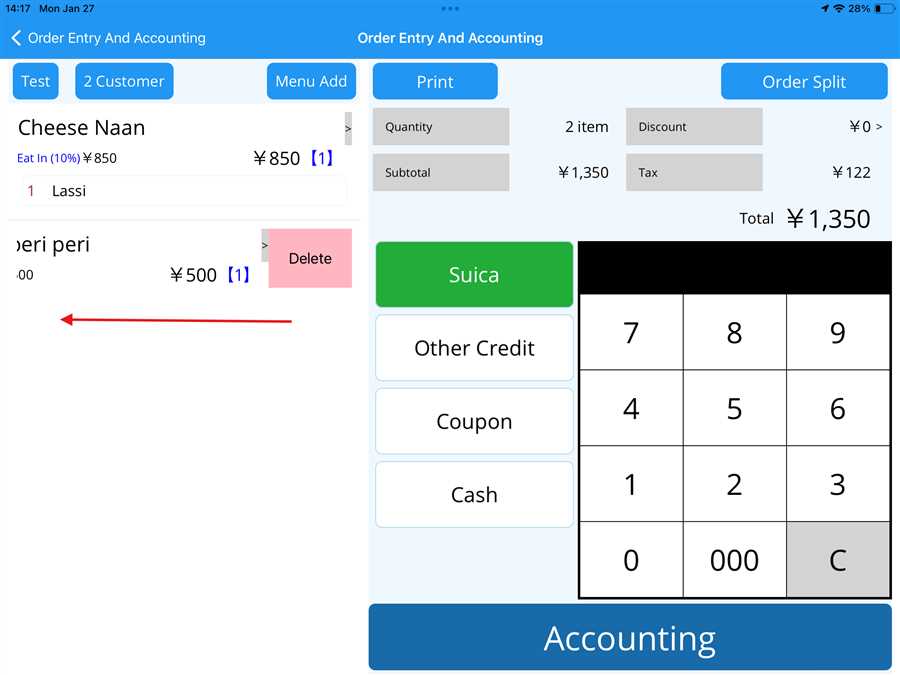
After selecting the menu, a page opens where the user can view the selected menu item, as shown in the figure above. By pressing the Delete button, a prompt appears, allowing the user to confirm the deletion by pressing Yes.
After deletion, the menu is removed from the list. Thus, by following the above steps, the user can remove a menu item from the accounting section.