For this, you have to login to your account first. Only the company manager and shop manager with permission are allowed to change these settings. So, you will need to have an access level of Company Manager or Shop Manager for this. After you have successfully logged in to POS web, you will be in the top page of the site.
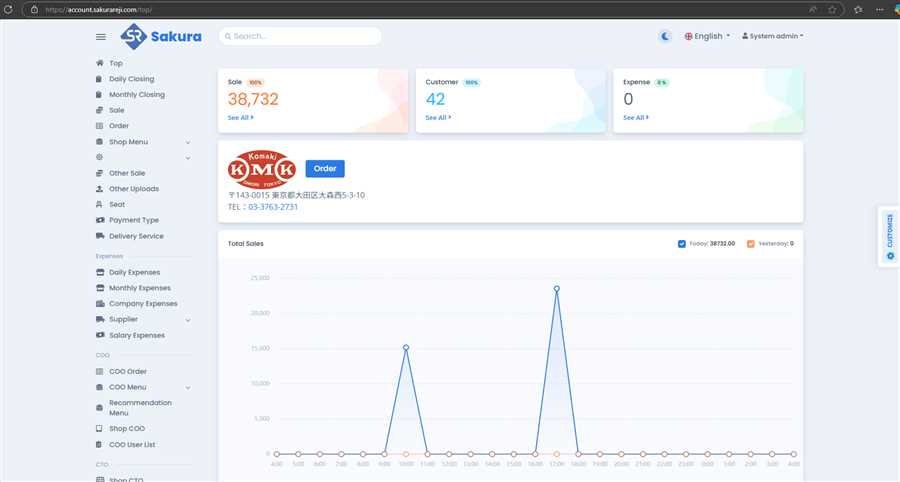
On the left side of page, there is a panel with lots of links. Scroll down to 'Settings' category, there is Settings link within this Settings category and click on the Settings as shown in image below.

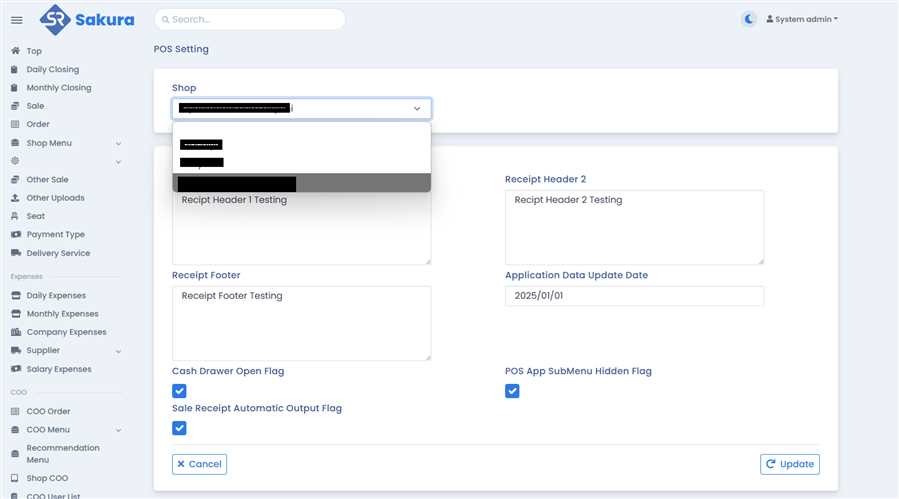
Following page will appear on clicking the Settings. If you are Company Manager, you can change settings of any shop in your company while if you are shop manager with permission to change settings then you can only change the settings of your shop. The dropdown to select the shop is only for the company manager as shown in image below:
After the shop is selected in case of company manager, the settings of that shop are loaded into the form.
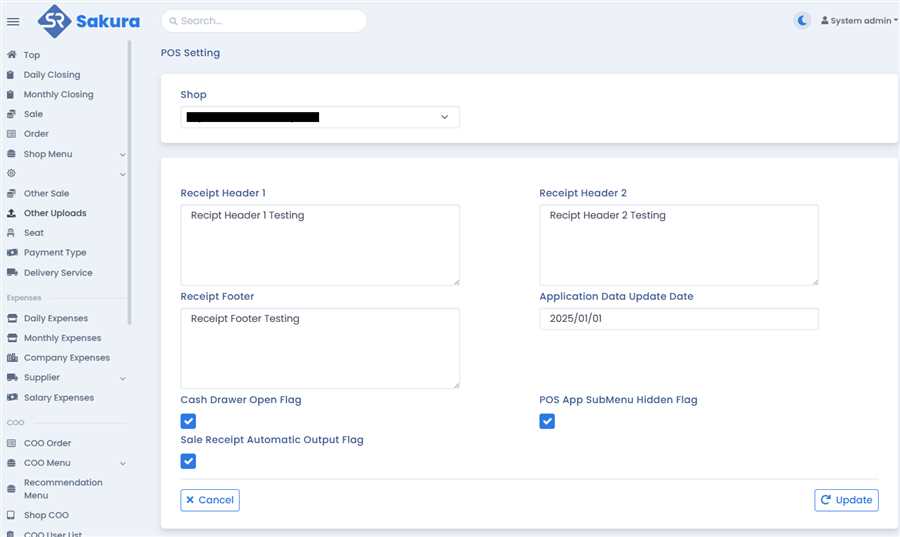
You can now make any changes required as per your need in the shop. After setting the values as per you requirements, click on the Update button. A pop up appears for your confirmation. Confirm your changes.
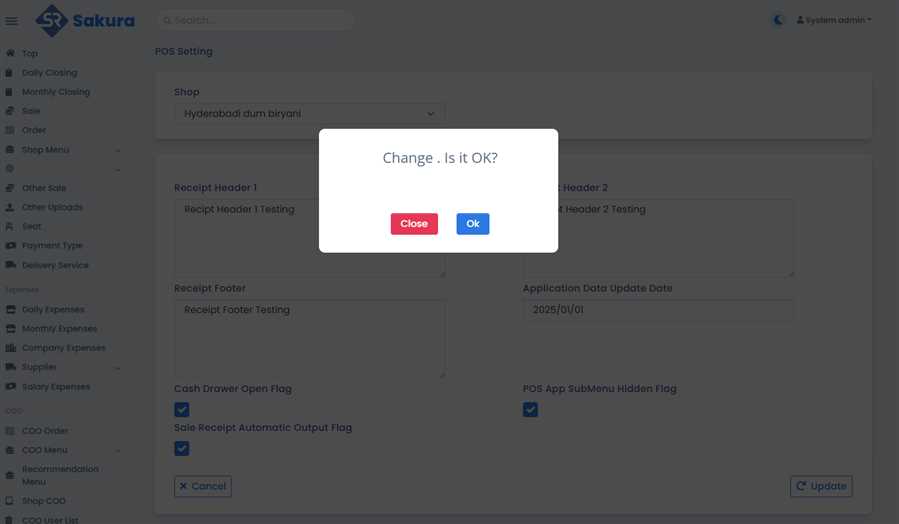
Then, on confirmation, successful update message will appear.
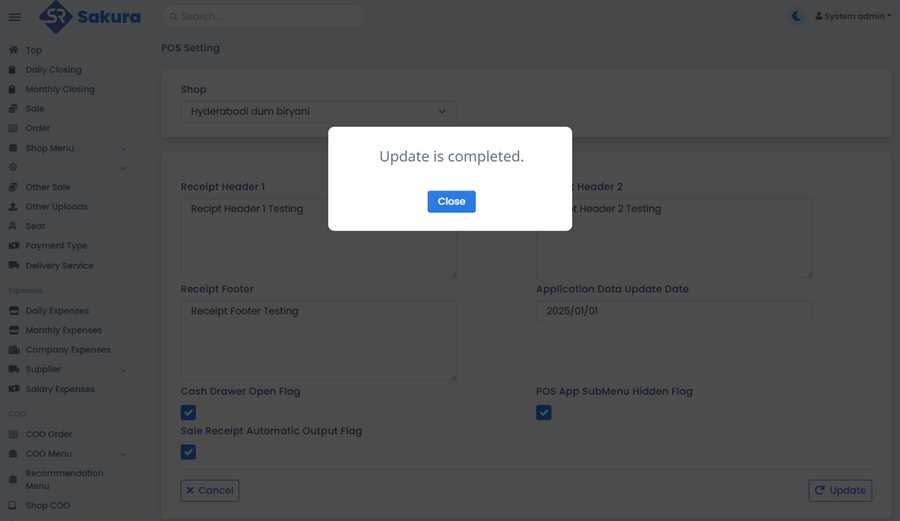
This marks the completion of the update of the POS app settings.
The various settings that can be made using the above form are listed below with their functions:
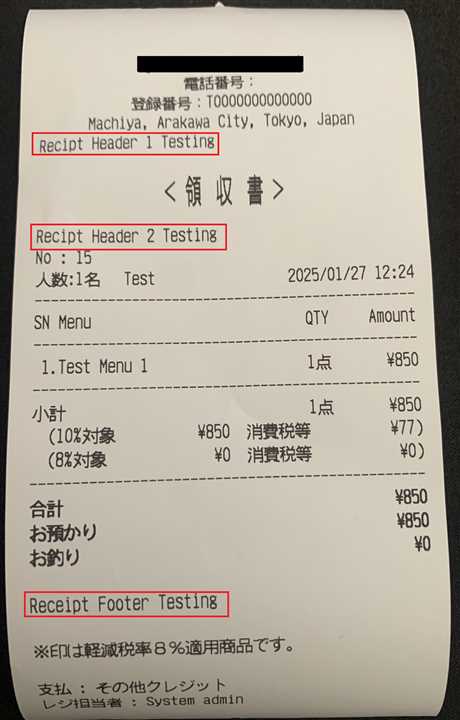
1. Receipt Header 1, Receipt Header 2 and Receipt Footer: These are the custom header and footer you can set in the receipt you print after accounting the order of certain table. You can customize the bill using these. A sample is shown below based on the setting above:
2. Application Data Update Date: Suppose you make changes to menus, submenus, seat, payment type,etc. and the POS app automatically update when you goto top page in the app. Now, if you set this 'Application Data Update Date' then, setting this date will pause the updates till that date on the app. The next update will occur on the day you set here. Till then no updates for any changes you make on POS web regarding menu, seat,etc.
3. Cash Drawer Open Flag: This flag allows you to automatically open the cash drawer during the accounting process. On enabling this flag, after you press the Accounting button, the cash drawer will automatically open. You can disable or enable as per your need from here.
4. POS App SubMenu Hidden Flag: In case you don't want to use submenus in a certain shop but just use the menus without their submenus then, you can check this flag here. The POS app will only display the menus and there won't be page to choose the submenus.
5. Sale Receipt Automatic Output Flag: Basically, what this flag does is when you perform accounting in the POS app, the receipt is automatically printed. You can enable or disable this as well as you require.
These are all the POS app setting you can change from here.