Setting the POS App
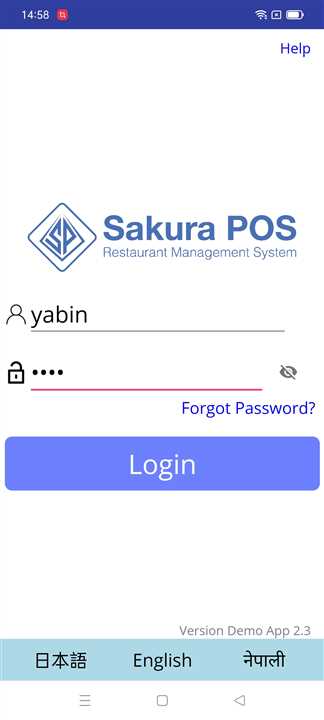
Login to POS App
Open the POS app in your handheld device and login.
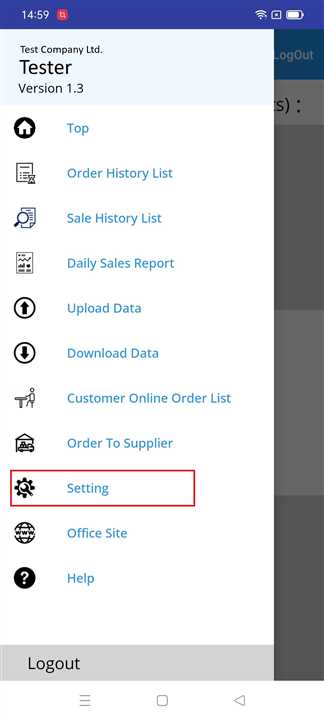
Goto Setting
Slide from the left edge of your device to open the side bar or just click on button(☰) on top left of the app to get the sidebar.
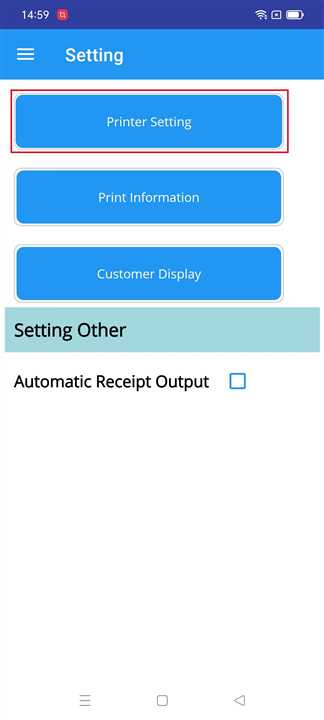
Open Printer Setting
Click on Printer Setting button when the setting page is shown.
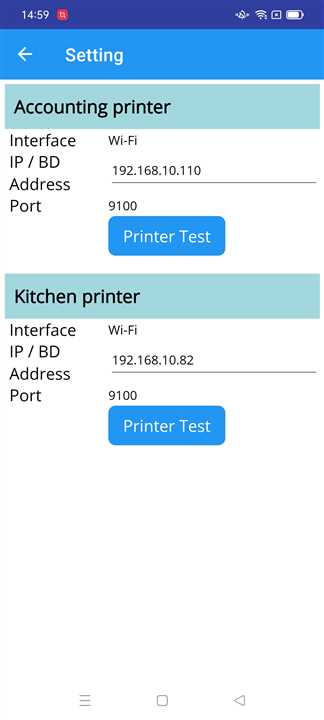
Set IP Address
When the printer setting page appears, a list of printers that are setup for your shop is shown. Fill in the IP address box with the IP address of the printer you want and click on Printer Test button.
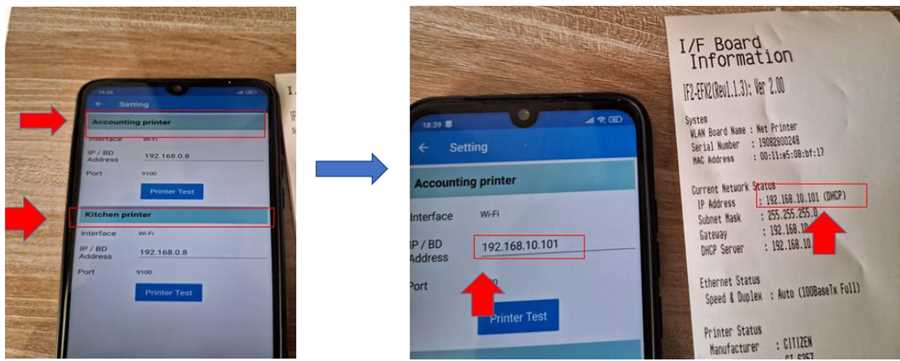
IP Address Set Reference
Refer to the image to verify the IP setting process. The printer IP is in the printed slip ejected by the printer. Refer to another guideline about getting the printer details slip if you do not know how to get the slip.
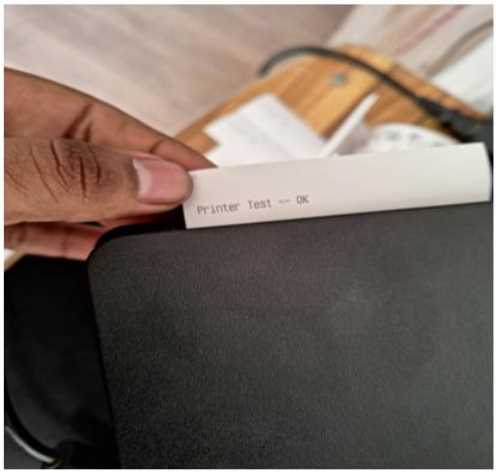
IP Setting Complete
After clicking test, a slip of paper is ejected by the printer with message "Printer test --OK". Congratulations your printer has been successfully setup for your shop.